
Project Description:
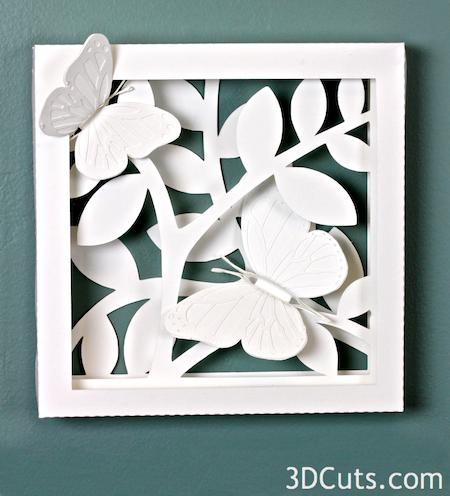
This shadow box is composed of 3 cut files assembled in layers to create a branch environment for butterflies to hide. The download includes the cutting files for assembling Monarch butterflies as well as the shadow box. I have created this same series of files in several different paper combinations to show you the potential. First, I made a series in vibrant, natural colors and then one in pure, simple white. Both are stunning.
Supplies Needed:
- Cutting File downloaded on 3DCuts.com here
- Glue dots 3/16"
- 3 sheets of 8.5" x 11" Card Stock - Colors or whit2
- 1 sheet black & 1 sheet yellow card stock
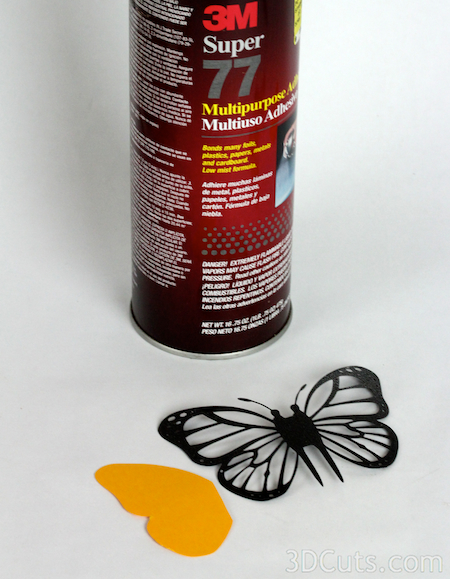
- Spray Adhesive
- Permanent Black marker
Parts Sizes: (For people importing into Design Space)
- Layer 1 Frame (Without the hanger) 7.72 x 7.72”
- Hanger 5.975 x 1.335”
- Layer 2 Frame 6.78w x 6.785 h
- Layer 3 6.825 W x 6.765 h
- Butterflies - Can be any size but my largest is3.63 w x2.375 w. Group with wings and resize together.
Steps for completing the 3-D Butterfly Shadow Box project:
1. Download the cutting files for your cutting machine.
2. Load the files into your cutting software following the steps for your cutting machine.
3. Prepare the files:.
- For the Silhouette: The SVG files from this site will need to be turned into cutting files. Click here for detailed steps on how to use SVG files on your Silhouette. http://www.3dcuts.com/tutorial-upload-svg-silhouette
- DXF files can be opened in the basic edition of Silhouette Design Studio but often require modifications. I recommend using the Designer Edition and using svg files.
- For Cricut Explore: Here is a guide for importing into Cricut Design Space. http://www.3dcuts.com/tutorial-adding-3dcuts-files-to-cricut
- For Brother ScanNCut: The svg files will need to be transferred to files for your particular machine. Google "How to import SVG files into a ScanNCut" for links to tutorials. Also note: Files were updated 3/2/2018 for better import into ScanNCut.
- Keep the identifying numbers on the frame pieces in the upper left when viewing from the front.
4. Cut the files:
- Paper colors are your preference. I have made this pattern in colors as well as all white. Two different effects and both beautiful.
- Helpful Hint. The butterfly wings are very delicate and a good blade is needed. Choose a black paper that isn't fibrous and work on a mat that is well worn. I always save older mats for delicate cutting. A mat that is too sticky tends to cause tears as you remove the design.

5. Fold boxes.
- Note each cut file has dotted lines. These are fold lines.
- Each frame has an identifying number cut out of one corner. Keep this number in the upper left when viewing each file from the front.
- Important: Fold along all dotted lines. Layers 1 and 2 fold toward the BACK and layer 3 folds toward the FRONT.

6. Glue Corners
- I like to use Glue Dots on the corners although other glue types are appropriate.

- It is important to make square corners.
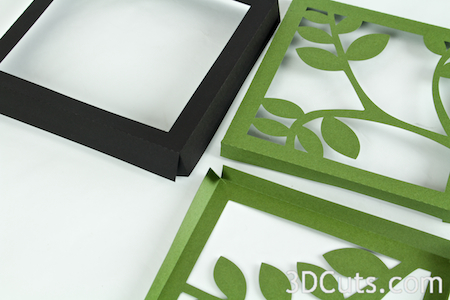
8. Assemble all three frames.
- The back layer (3) slides into the middle layer (2), and both are covered by layer 1 (black).

- Place glue dots between the layer frames to hold them all together. Position the back layer with in the front layer so that is placed as far back as possible. You want to maximize the space between the layers.


9. Add the hanger (optional).
- There is an optional hanger as part of Layer 1. It can be glued inside the top edge of the Layer 1 frame if you want to use that hanging method.
- Also, you can add a background paper on the backside - again optional. I like my wall paint color showing through but in some locations it might be best to add a soft sky colored paper to the back side.
10. Cut the butterflies.
- I have created shadow boxes with 1, 2 or 3 butterflies. The file comes with 3 patterns.
- Notice the larger one. It has more detail. It can be resized larger.
- The smaller design is simpler and works better in smaller sizes.
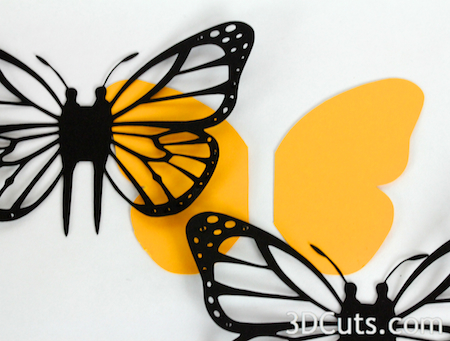
- Each Butterfly requires 2 lacy wings and 2 solid wing halves to be cut. Copy the appropriate files to a new file to cut from different colors.
- Choose your paper carefully for the lacy wings. Paper that has a lot of fibers tends to not cut well. A smoother card stock is more appropriate.
- Helpful Hint: A good blade is needed for this type of delicate detail. I found working with a worn-in mat (not too sticky) helps.
- Cut the files.
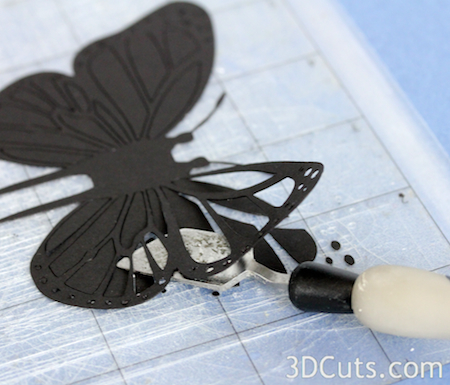
- Work carefully to remove the butterfly from the cutting mat. It is delicate.
11. Assemble the butterflies.
- Spray the backside of one lacy wing with adhesive.

- Carefully place the inner wing on each half.
- Work to line up edges.
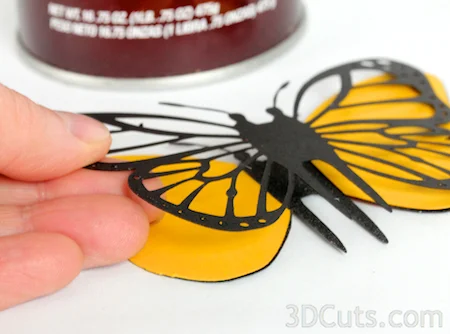
- Spray adhesive on to the 2nd lacy butterfly and place it over the solid wing piece creating a 3-layered butterfly. Pay close attention to the antennae working to line them up.
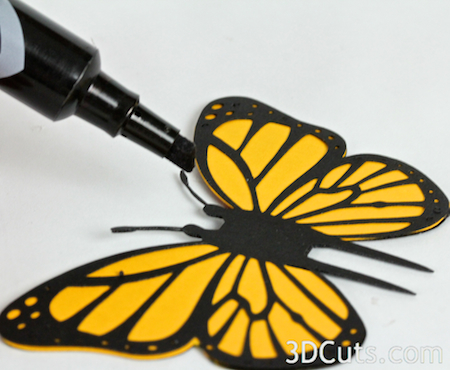
- If you have used black for the frame, take a permanent black marker and color any yellow showing on the edges. This step isn't necessary in a solid color version.

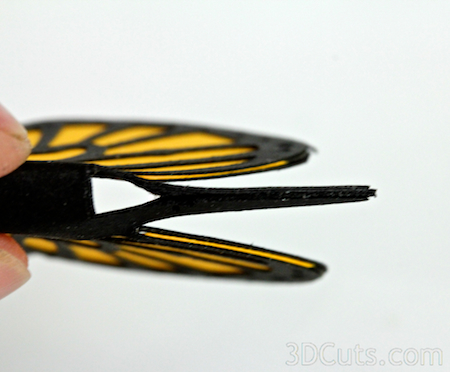
- Fold each butterfly wing up, leaving a flat surface between them. This is not a hard crease but a gentle fold.

- Use a tiny glue dot and glue the heads of the two halves together.
- Repeat this with the two tail pieces. I had to cut glue dots in half so they would fit.

- Spread the antennae.
- And bend the wings down.

8. Attach the butterflies to various locations on the shadow box.
- I used glue dots to position the butterflies. I like it with one of them positioned partially out of the frame.
This tutorial is available at:
http://www.3dcuts.com/tutorial-butterfly-shadow-box
©2014 3DCuts.com, Marji Roy