
3D Adirondack Chair - Assembly Tutorial
Project Description:
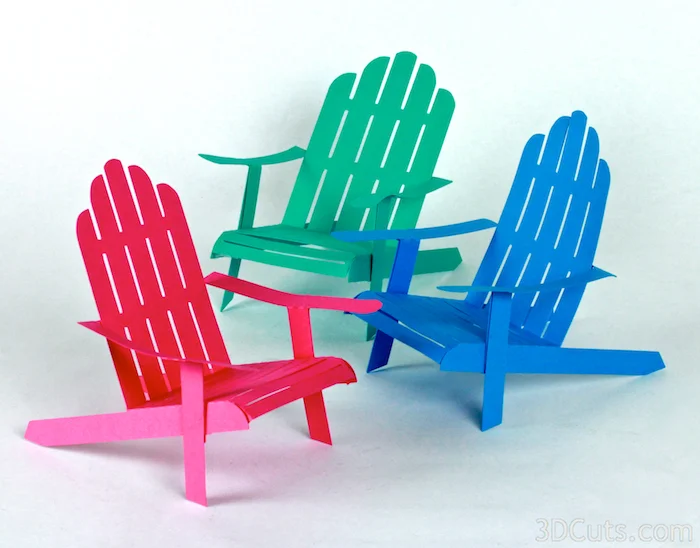
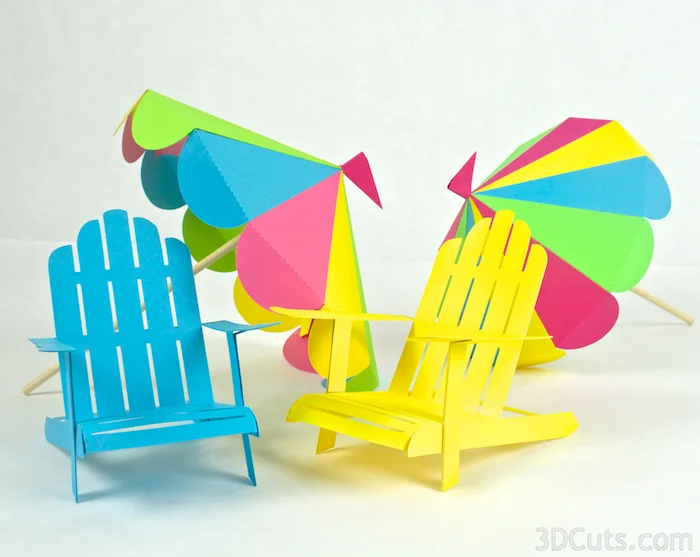
Check out this classic 3d-Adirondack Chair. It is a perfect picnic decoration. Place a brightly colored grouping as your centerpiece or use singletons as place card holders.
When complete the chair is just over 4" tall.
I have also design a 3D beach umbrella sized perfectly to pair with this chair. It is available through 3dcuts.com.
3D Adirondack Chair Tutorial

Supplies Needed:
- Cutting File available from 3dcuts.com.
- 8.5 x 11" card stock - I used the 65lb Cardstock from Recollections. You can make the chair from 1 piece of 8.5 x 11 " card stock but you will need 2 (or 1 12x12") if you want the reinforced version.
- Adhesive - I prefer glue dots
Parts sizes: (For those importing into Design Space) - in inches
- All pieces grouped - 7.665" w X 9.710"h
- Chair Seat - 3.755" w X 6.840"h
- Chair arm and leg piece - 3.640" w X 9.710"h
- Back Brace - 5.05" w X 3.680"h
Steps for completing the 3D Adirondack chair:
1. Download the cutting files for your cutting machine. The files are available here.
2. Load the files into your cutting software following the steps for your cutting machine.
3. Prepare the files:.
- Click here for detailed steps on how to use .SVG files on your Silhouette (with Design Studio).
- Click here for steps on how to use these .SVG files in Design Space with your Cricut Explore.
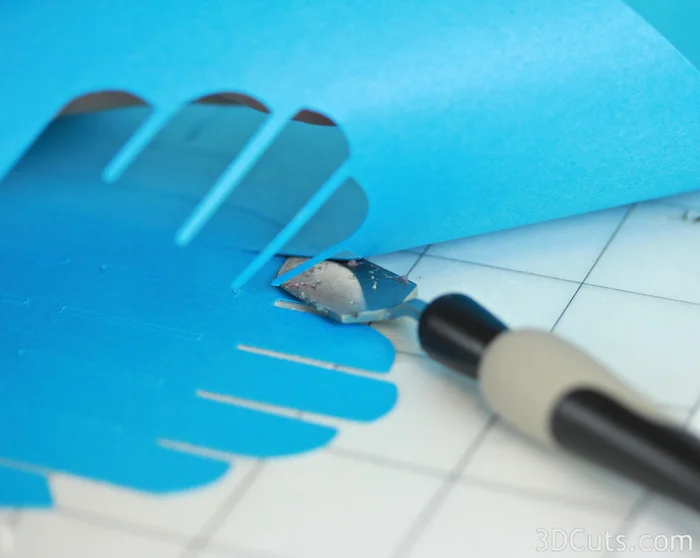
4. Cut the files from the card stock of your choice.
- Note: If you want the chairs to last over tim, I recommend cutting two of the arm/leg piece and gluing them together for added strength.

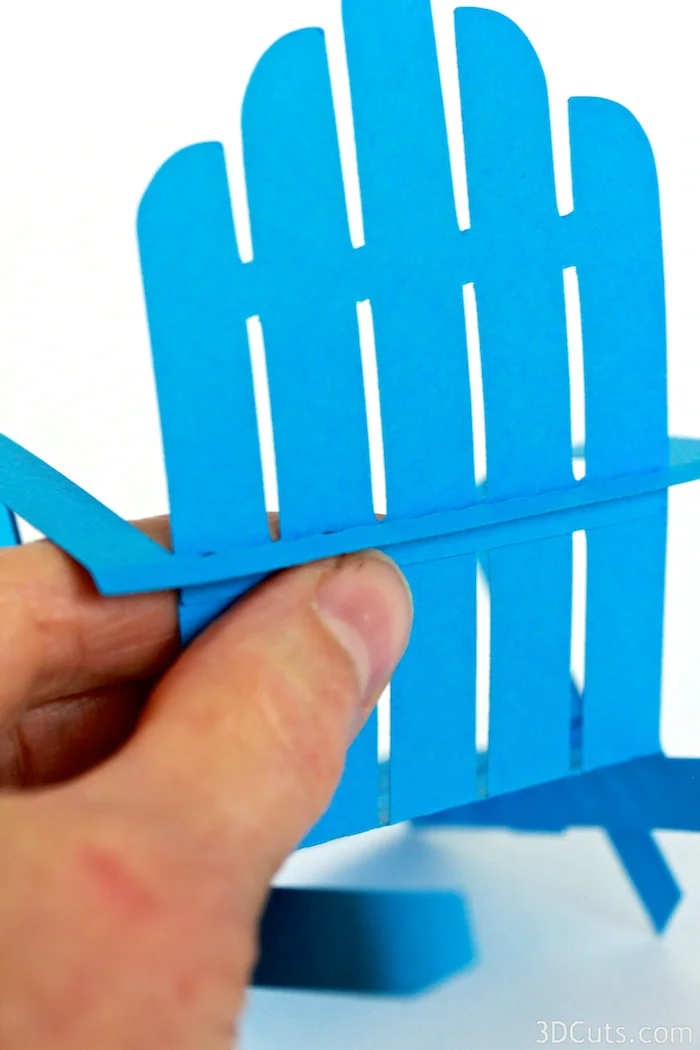
5. Fold and assemble the chair seat.
- The two side rails get folded DOWN and the seat back gets folded UP on the dotted fold lines.
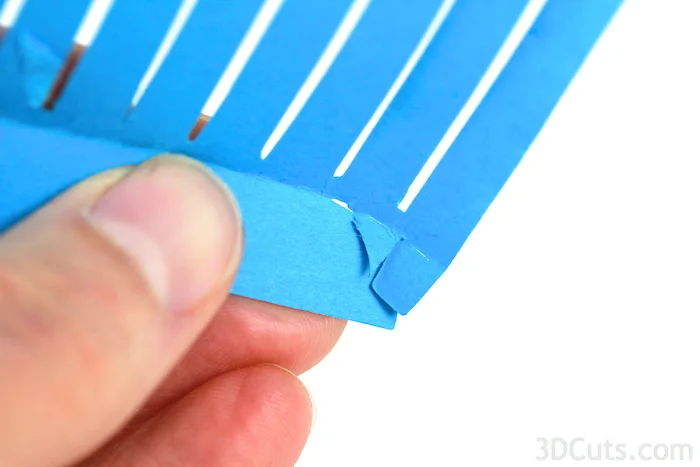
- Notice the two little tabs on the sides at the front of the slatted seat. These get folded down as well and will hold the seat front in a curved shape.
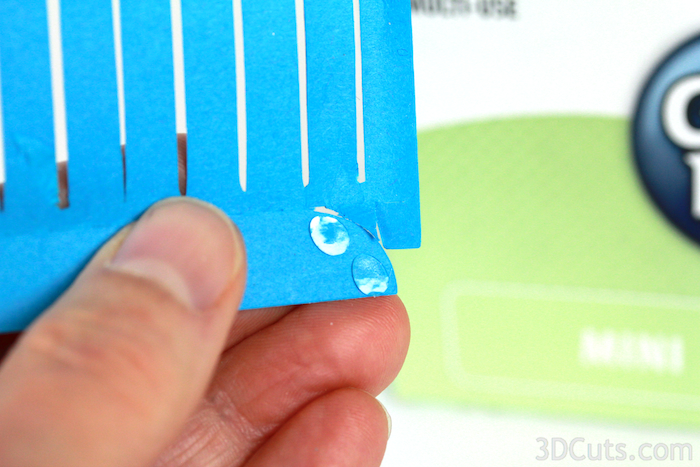
- These get glued to the back side of the curved front edge of the side slats.
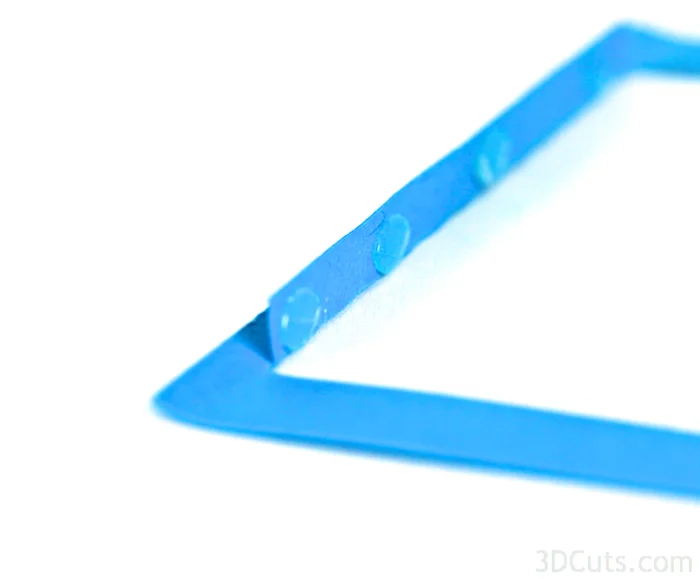
- Put 2 glue dots on the back-side of the side slat.
- Curve the chair seat down and around, sticking the little tabs to the glue dots.
- Do this to both the left and right sides of the chair seat front.

6. Fold and Assemble the chair arms and leg piece.
Decision time- You can make and Adirondack chair with the leg/arm piece being single layer of card stock. It will, over time start to curl and droop. If you would like a stronger chair for a longer display, I recommend doubling the leg/arm piece. This is optional.
- Start by cutting 2 of this shape in stead on just 1. ( They should be matching colors. I made the yellow chair with the double layer and the blue chair with the single layer.
- Add adhesive to the back of one. I used my 5" Xyron but spray adhesive would work as well.
- Glue the two shape together to make 1 stronger shape. Be sure to line up edges.
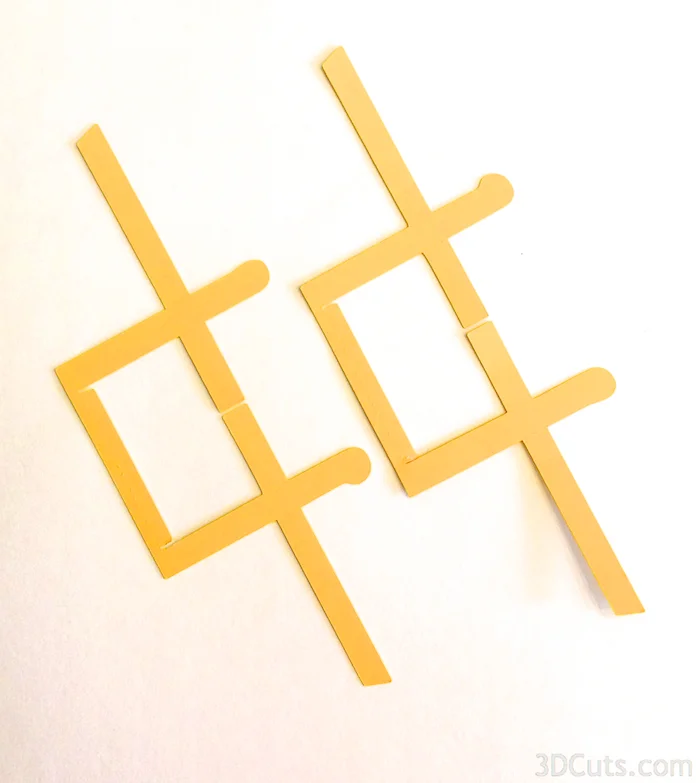

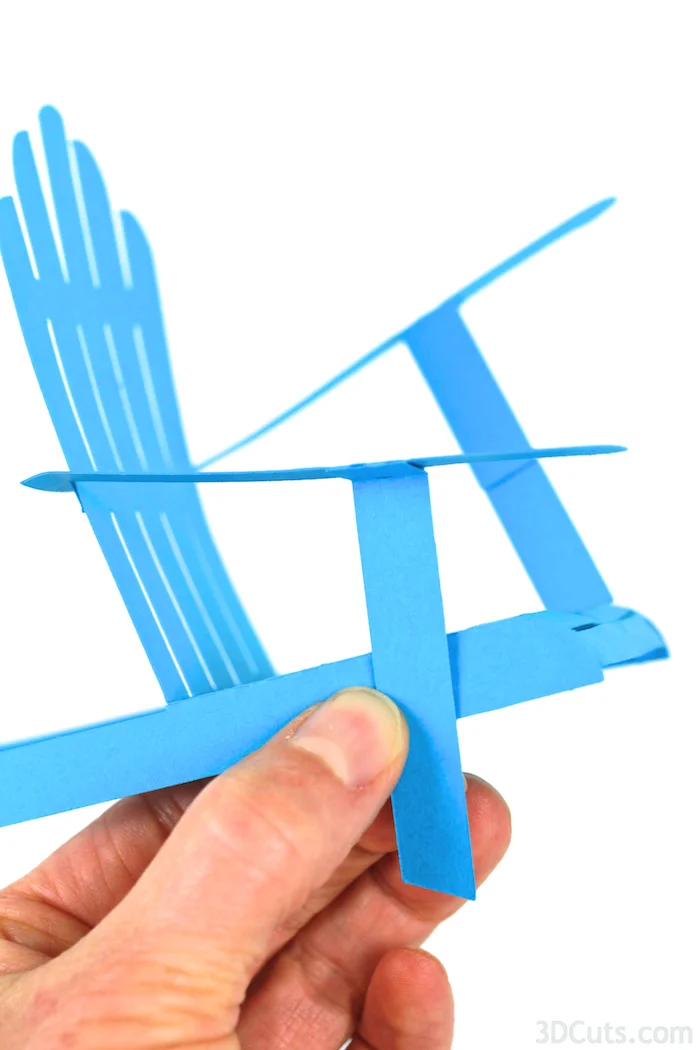
Fold the leg/arm piece as follows.
- There is a long short tab on the back brace that gets carefully folded up.
- The short leg pieces in the center both get folded up.
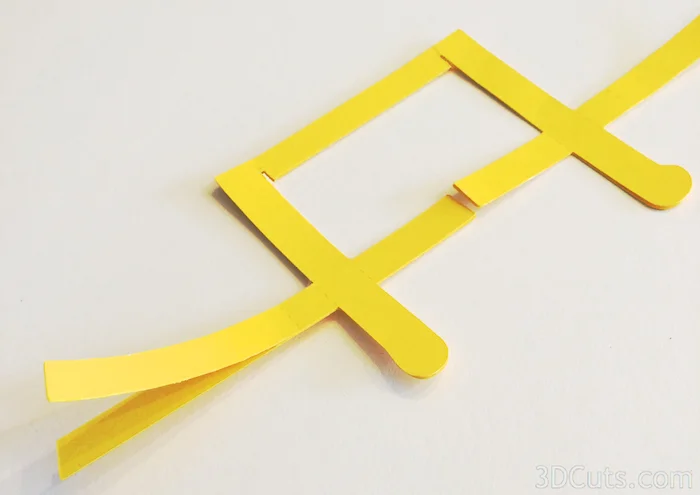
- The 2 longer leg pieces get folded up and then out as shown in the photo.
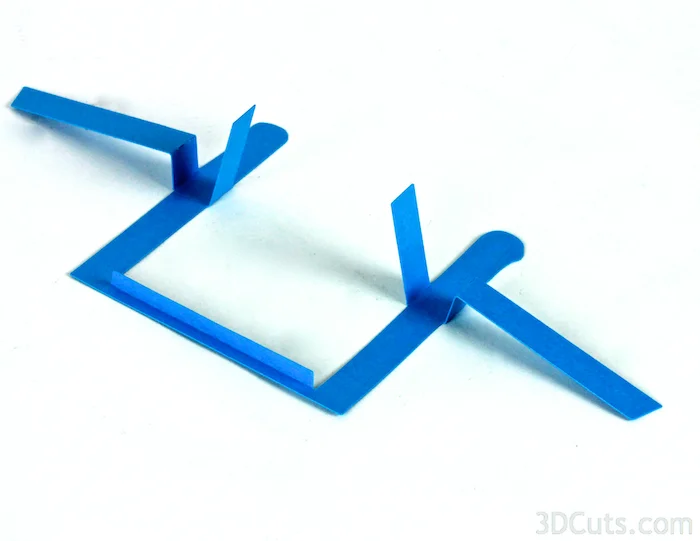
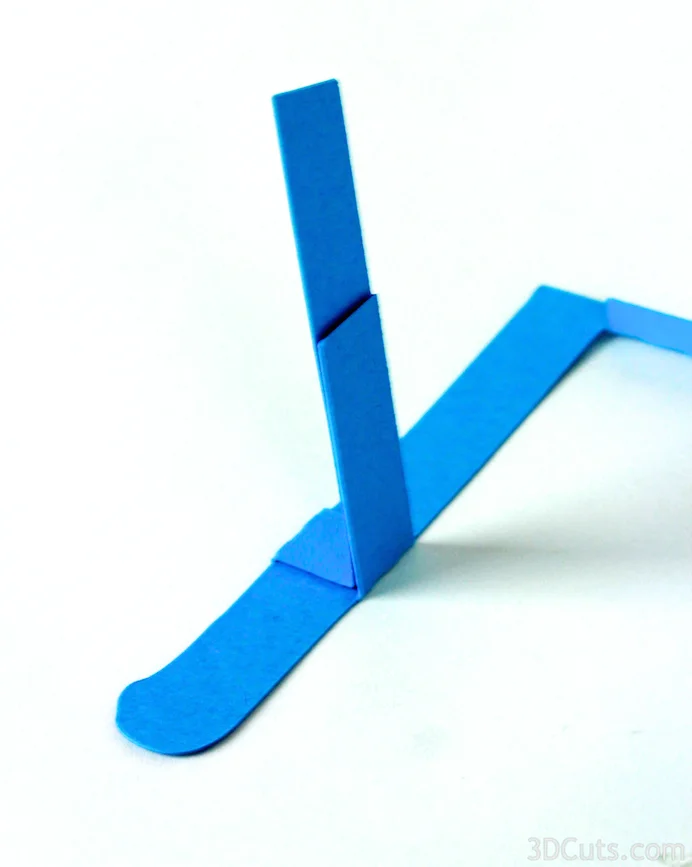
- The short leg pieces get glued to the longer leg pieces on each side as shown.
- Do this on both sides.
6. Attach the arm/leg piece to the chair seat.
- Attach a row of glue dots along the folded tab of the back connector on the arm leg piece. (Or a strip of ScorTape).
- Postion this behind the lower brace on the chair back (horizontal solid area) with the tab facing down and the legs toward the front folded down down.
- Be careful to have the brace straight before pressing into place.
7.Attach the side arms to the seat base.
- The front legs now get attached to the sides of the seat base using glue dots. The positioning is tricky here so proceed with care. I find it is easier if I apply the adhesive to the chair base and then attach the leg to it. Notice the markings described int he next step.

- If you look carefully, you will see a tiny tab extension on the lower side of the side rail. This is to show you exactly where to place the leg.The front of the leg lines up with the front of that notch.
- But you also must take care to get the up and down placement right.
- You know the up and down position is correct when the arm of the chair is straight- not buckled.
- Do the same with the second leg.
- Be careful because you want the two sides to match.
- You can trim the bottom of the legs a little bit if the chair is wobbly.
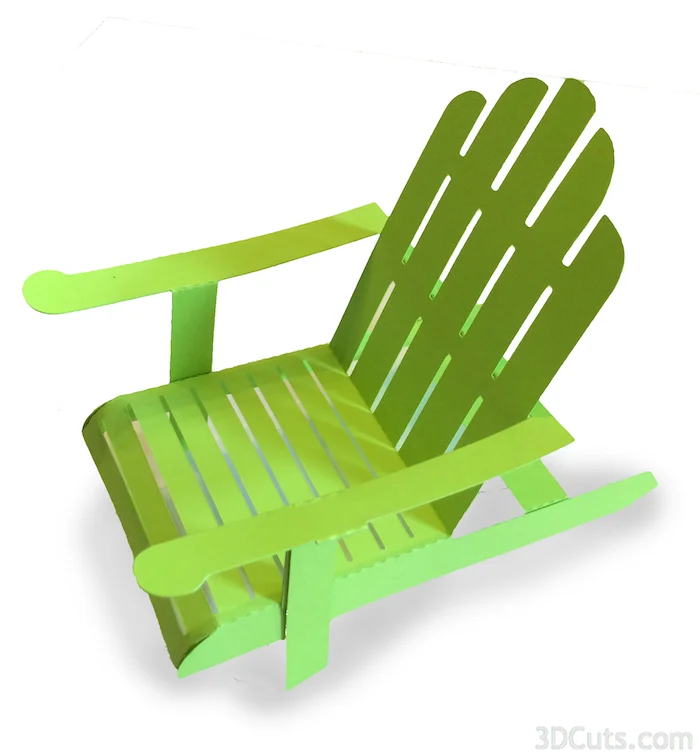
- Now look at all your card stock in summery colors and create a collection of chairs for display!
- And how about building a matching beach umbrella also available from 3dcuts.com?
© 2015 Marji Roy, 3DCuts.com