Hummingbird Shadow Box - Tutorial
Project Description
Scroll down for link to video tutorial.
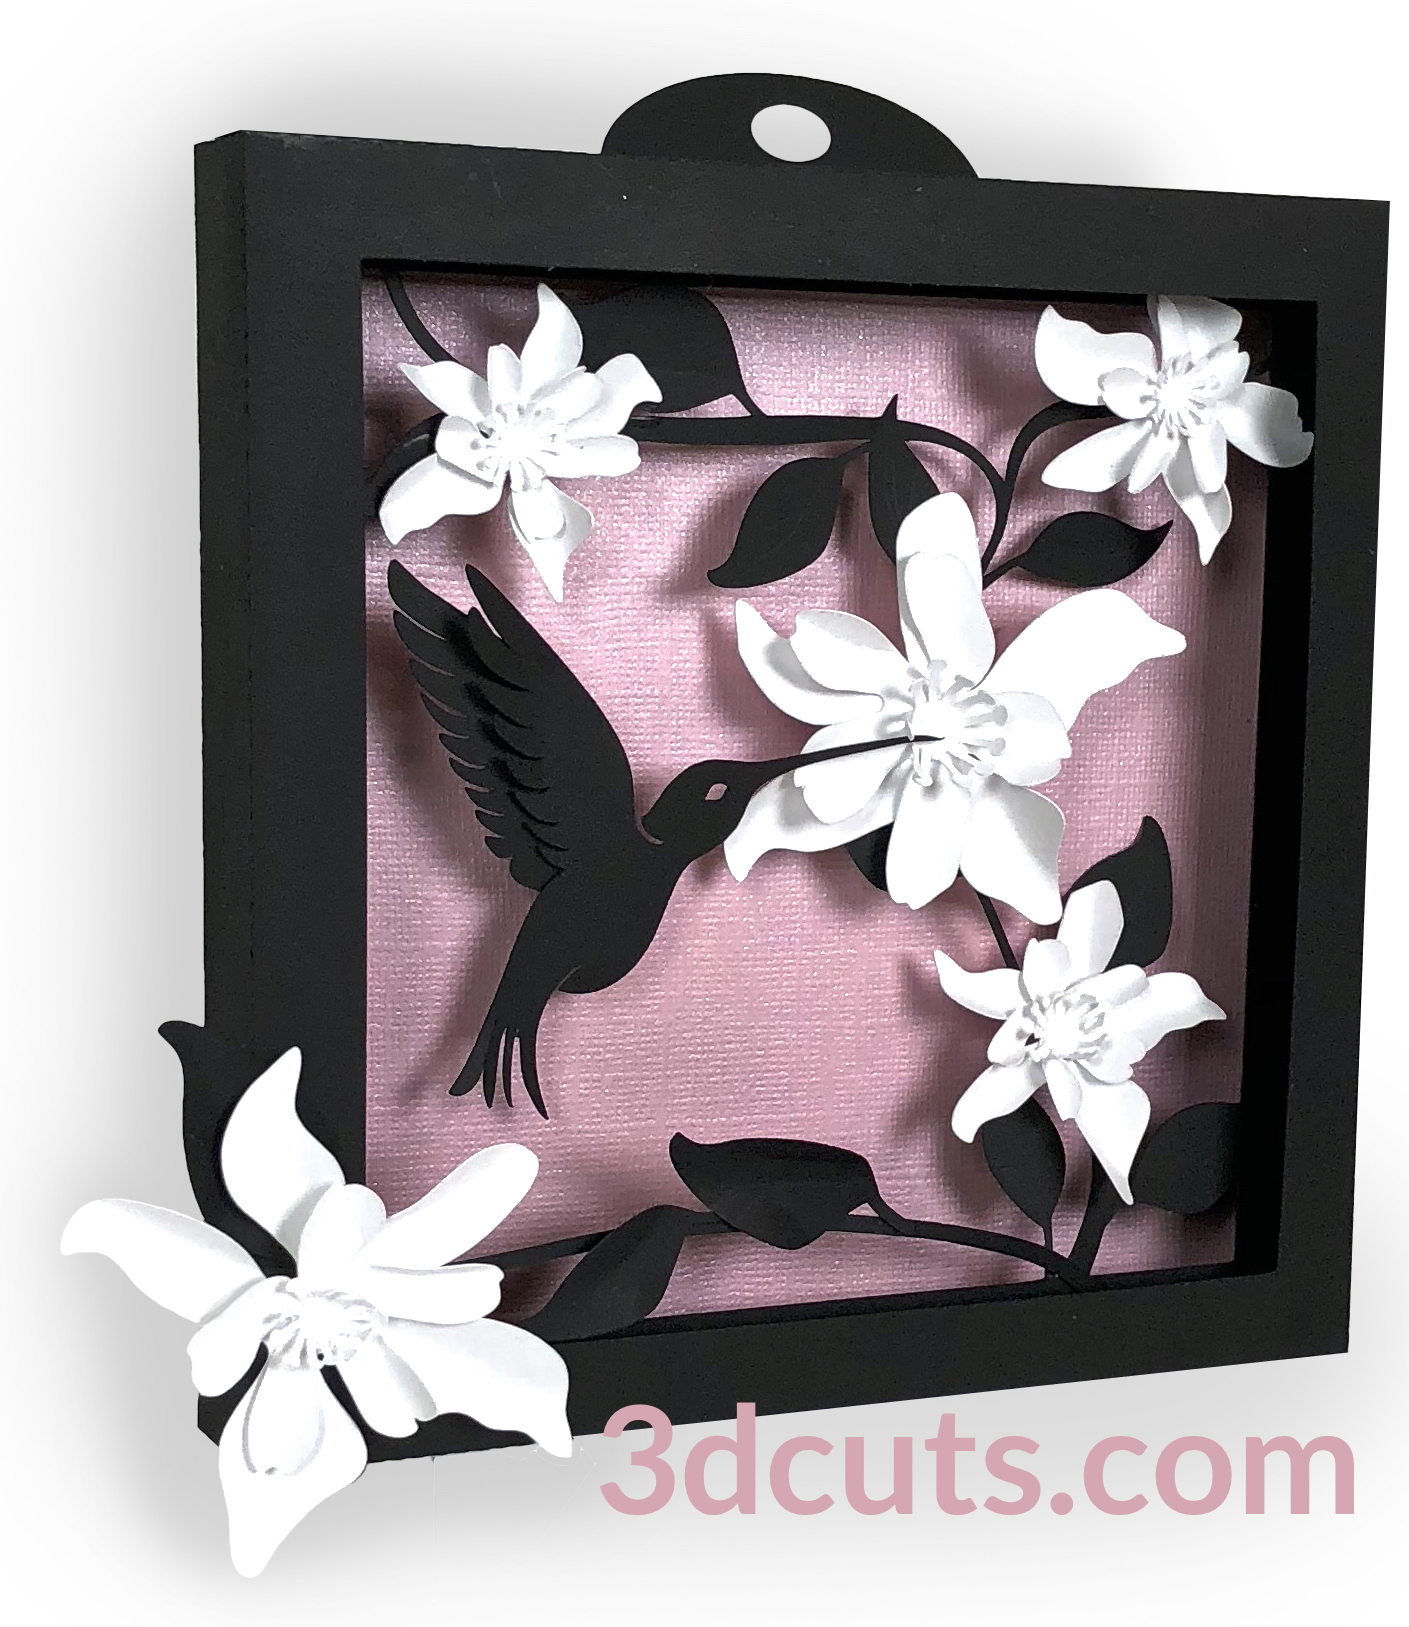
This tutorial is for the 3 layer Hummingbird shadow box designed by 3Dcuts.com. The assembly process is similar to many of the shadow boxes I have designed but this one has fewer layers and more added details.
This shadow box is about 6 1/2" square when complete. It comes with an optional hanger if you want to hang it on the wall. It is about 7/8" thick and can also stand on a shelf.
The impact can be dramatically changed by using different background papers.
The assembly is easy and basic 3d construction.
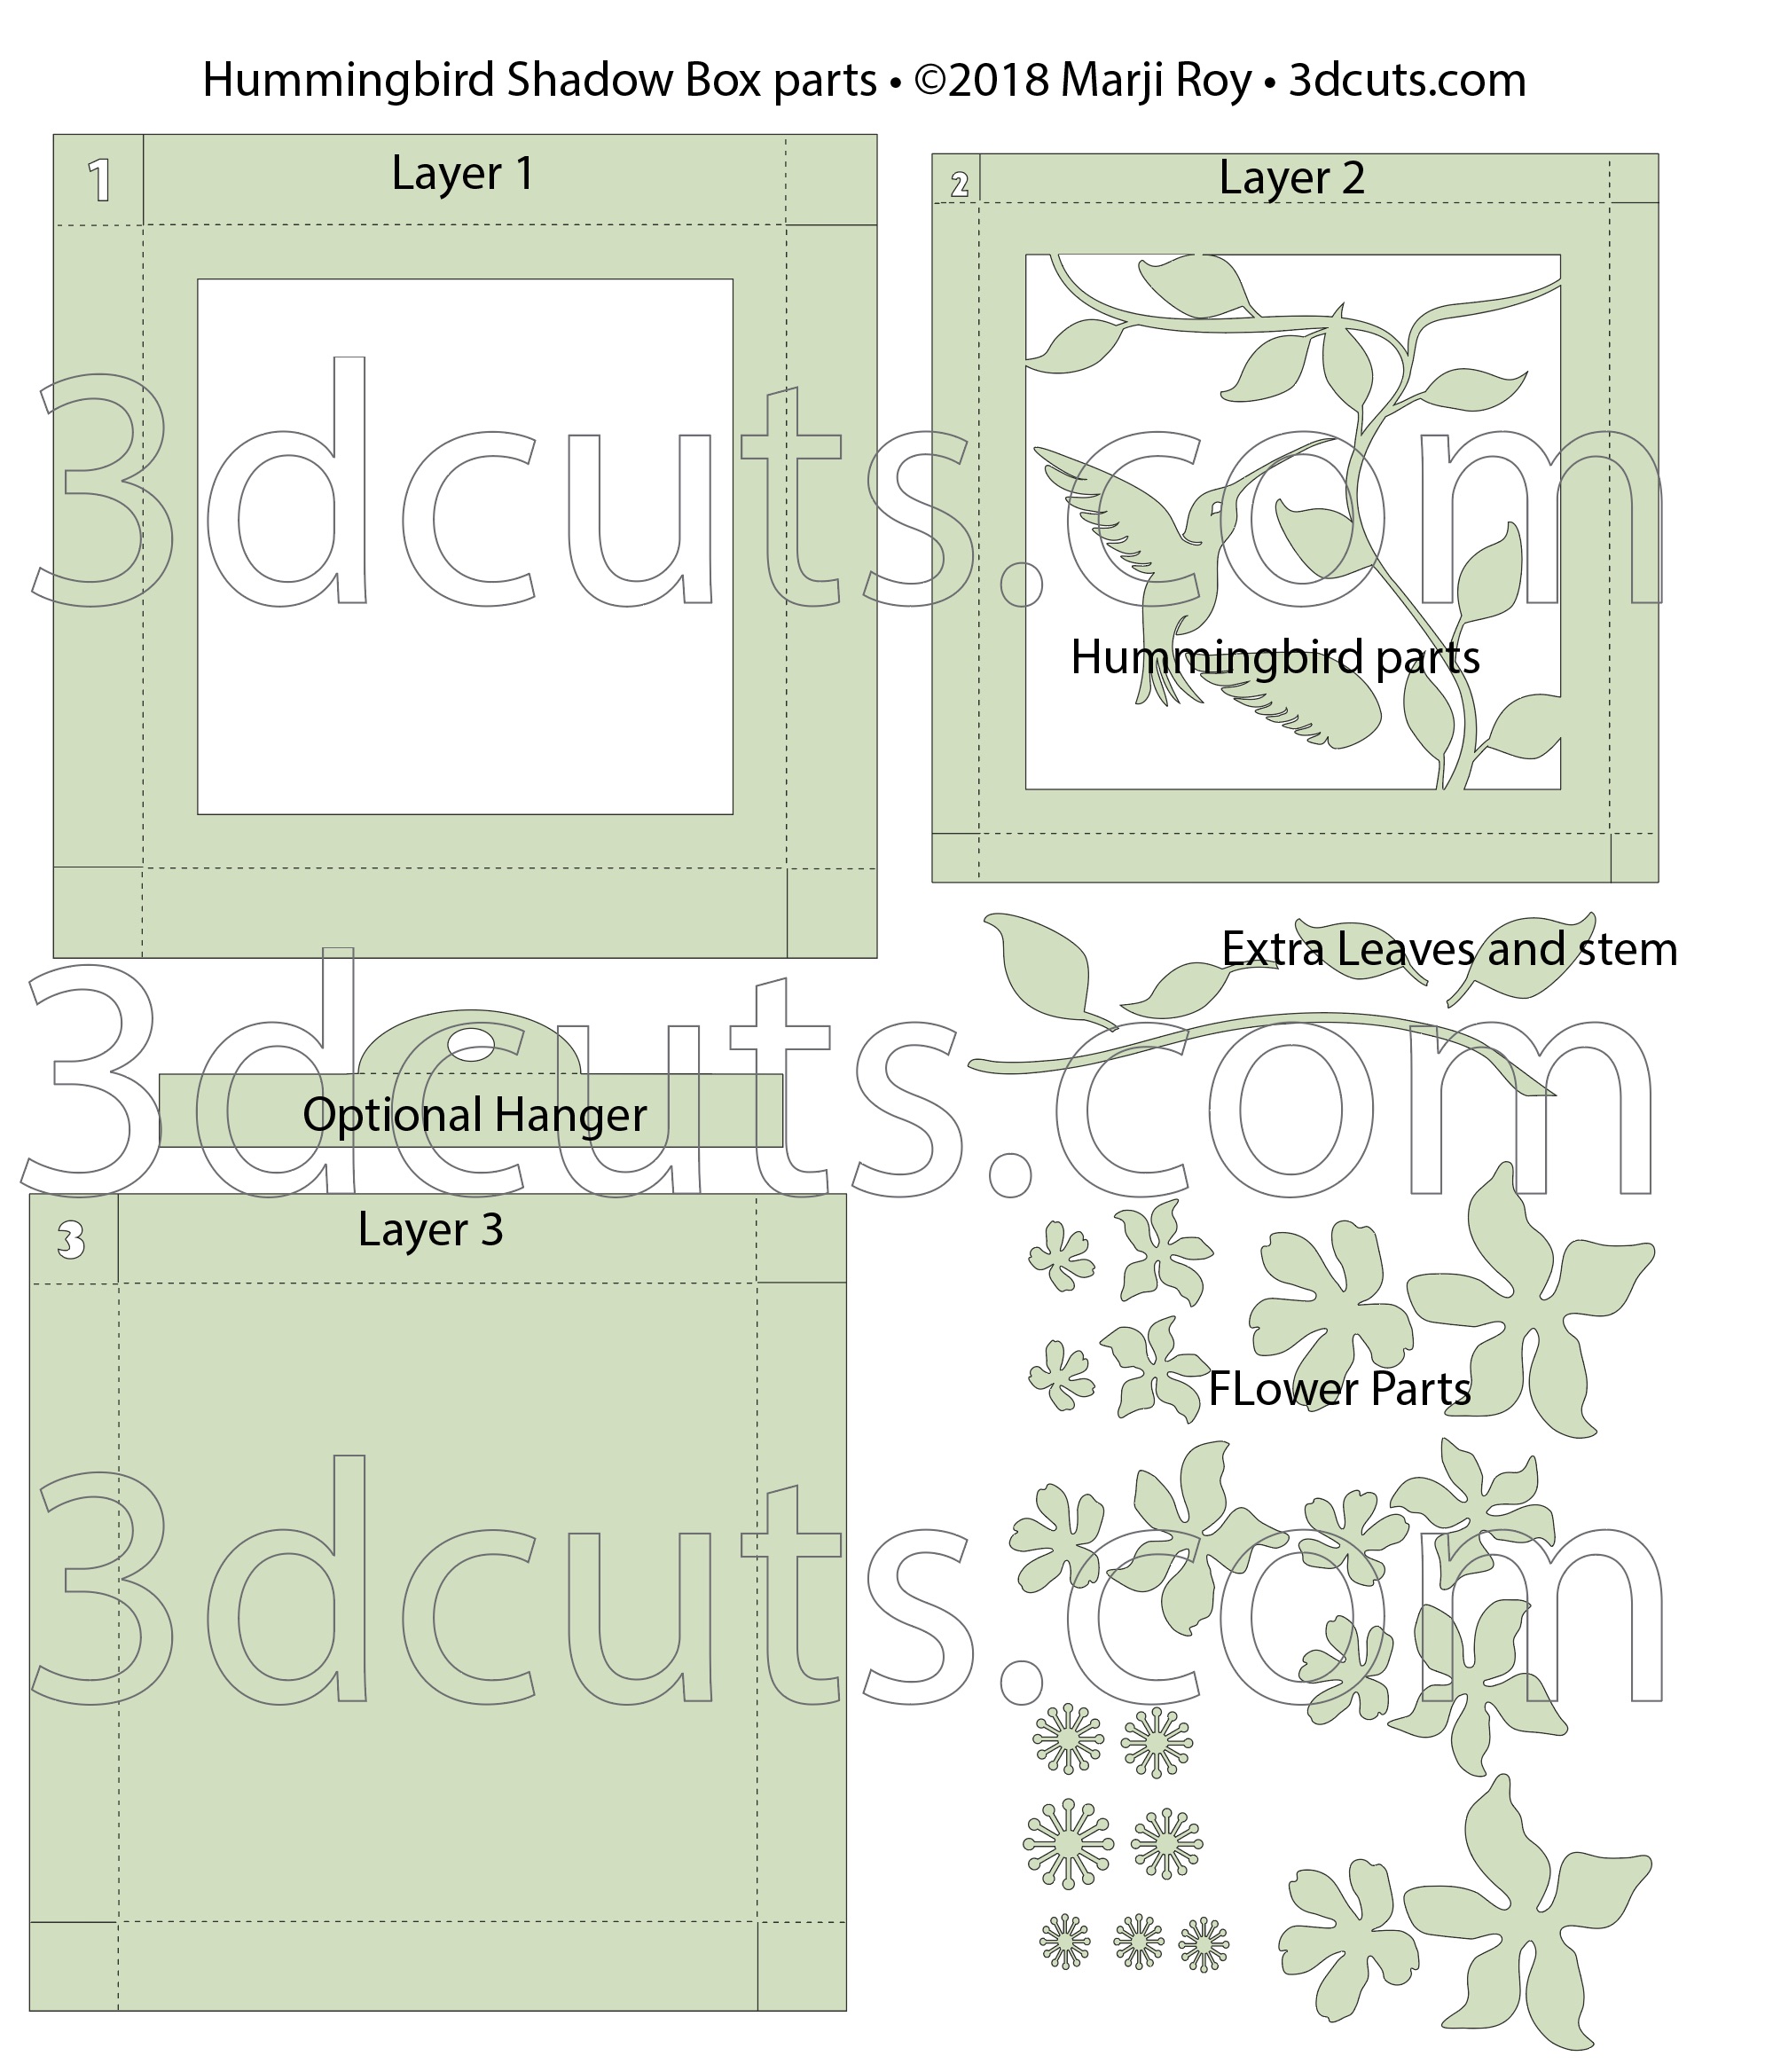
Detail view.....


- Cutting File available at here from 3dcuts.com.
- 8.5 x 11" card stock - I used the 65lb Cardstock from Recollections available at Michael's.
- 8.5 x 11" White Index Card Stock -
- Adhesive - I use Scor-Tape, Art Glitter Glue, and glue dots although other adhesives would work.
- Scotch tape
- Foam Dots
- Back Ground paper: Be creative- Paper needs to be cut to 6 1/4" square.
- Tweezers
Major Parts Sizes:
- Hanger - 6.2597" w x 1.376" h
- Frame 1 - 8.2694" w x 8.2694" h
- Frame 2 - 7.2931" w x 7.2931" h
- Frame 3 - 8.2014" w x 8.2014" h
- Hummingbird body - 3.026" w x 2.687" h
- Hummingbird Wing - 1.965" w x 0.969" h
- Flowers Together- 7.522" w x 8.920" h
- Background - 6.279" w x 6.279" h
- Collars - 1.5" w x .5" h
Links to supplies on Amazon:
- Order from Amazon: Neenah Exact Index Card Stock 110lbs. 250 sheets (Affiliate Link)
- Order from Amazon: 3D Pop Dots Square 1/4 inch (Affiliate Link)
- Order from Amazon: Art Glitter Glue with metal tip (Affiliate Link)
- Order from Amazon: Scor-Tape 1/4” 3 rolls (Affiliate Link)
Order from Amazon: Glue Dots Mini .375" value Pack (Affiliate Link)
- Order from Amazon: Nicapa Cutting Mat (Affiliate Link)
- Order from Amazon: Premium Silhouette Blade (Affiliate Link)
Steps for completing the Hummingbird Shadow Box:
Special Note: I update the instructions online. Check at http://3dcuts.com/hummingbird-shadow-box-tutorial for adjustments and additional information. Don't just rely on the pdf file that comes with the download. Learned hints and corrections are added to the the online tutorial.
1. Download the cutting files for your cutting machine at here from the 3dcuts.com store. You can also download a variety of skies to print from 3dcuts.com.
2. Load the files into your cutting software following the steps for your cutting machine.
3. Prepare the files:.
- For the Silhouette: The SVG files from this site will need to be turned into cutting files. Click here for detailed steps on how to use SVG files on your Silhouette. http://www.3dcuts.com/tutorial-upload-svg-silhouette
- DXF files can be opened in the basic edition of Silhouette Design Studio but often require modifications. I recommend using the Designer Edition and using svg files.
- For Cricut Explore: Here is a guide for importing into Cricut Design Space. http://www.3dcuts.com/tutorial-adding-3dcuts-files-to-cricut
- For Brother ScanNCut: The svg files will need to be transferred to files for your particular machine. You can change SVG files to FCM files at http://www.canvasworkspace.com/ or Google "How to import SVG files into a ScanNCut" for links to tutorials.
4. Cut the files.
- All pieces are cut from card stock.
- Here are the various pieces you will be cutting out.
Hints on cutting details:
- Use a good blade. I have found the Silhouette Premium blade to be well worth the money for those of you using Silhouette.
- A mat in good condition is also important. I use the Nicapa mats from Amazon Nicapa Cutting Mat (Affiliate Link). You need to use one that still has a lot of stick to it. It helps hold the paper, prevent tearing and assists in separating.
- I find settings vary by blade but I use the premium blade, set for heavy card stock and modified on the Silhouette to a depth of 4, speed of 4 and pressure of 33. You can start there but you will probably have to vary it for your blade.
- It can help to slow the speed down on the more complex cuts. I reduce the speed to 2 on the more complicated pieces like the hummingbird and the flowers.
Background paper:
- Here you should be creative.
- I have created backgrounds by doing a water color wash, creating a gradation on the computer, acrylic paints, or buying cloud paper.
5. Assembly
- The assembly steps are detailed in the video below. Here is the url. https://youtu.be/zrDgt12_gBM
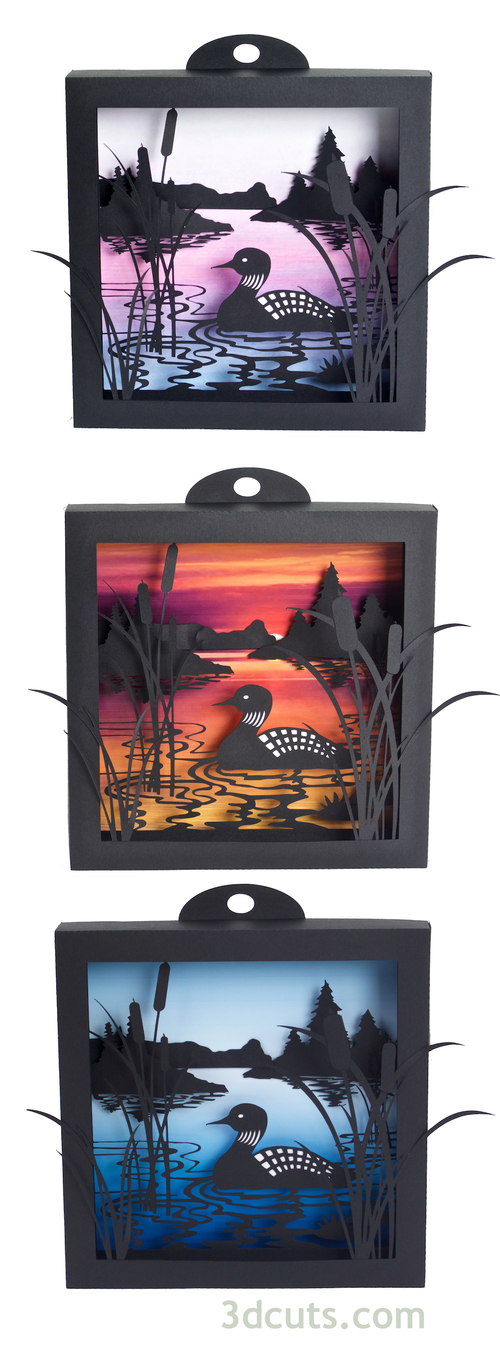
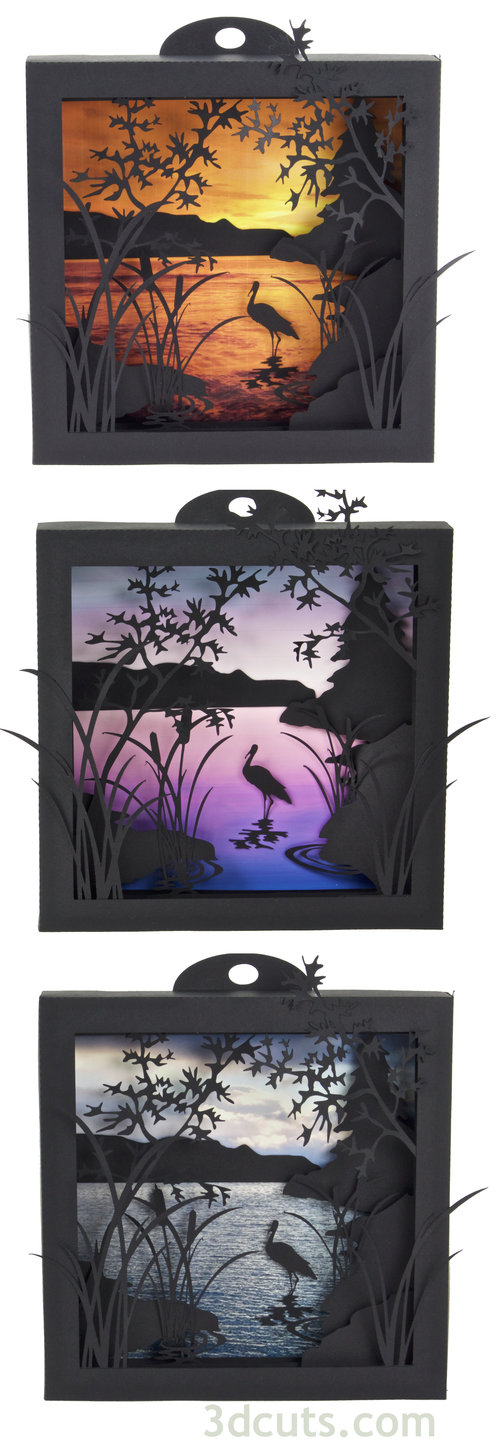
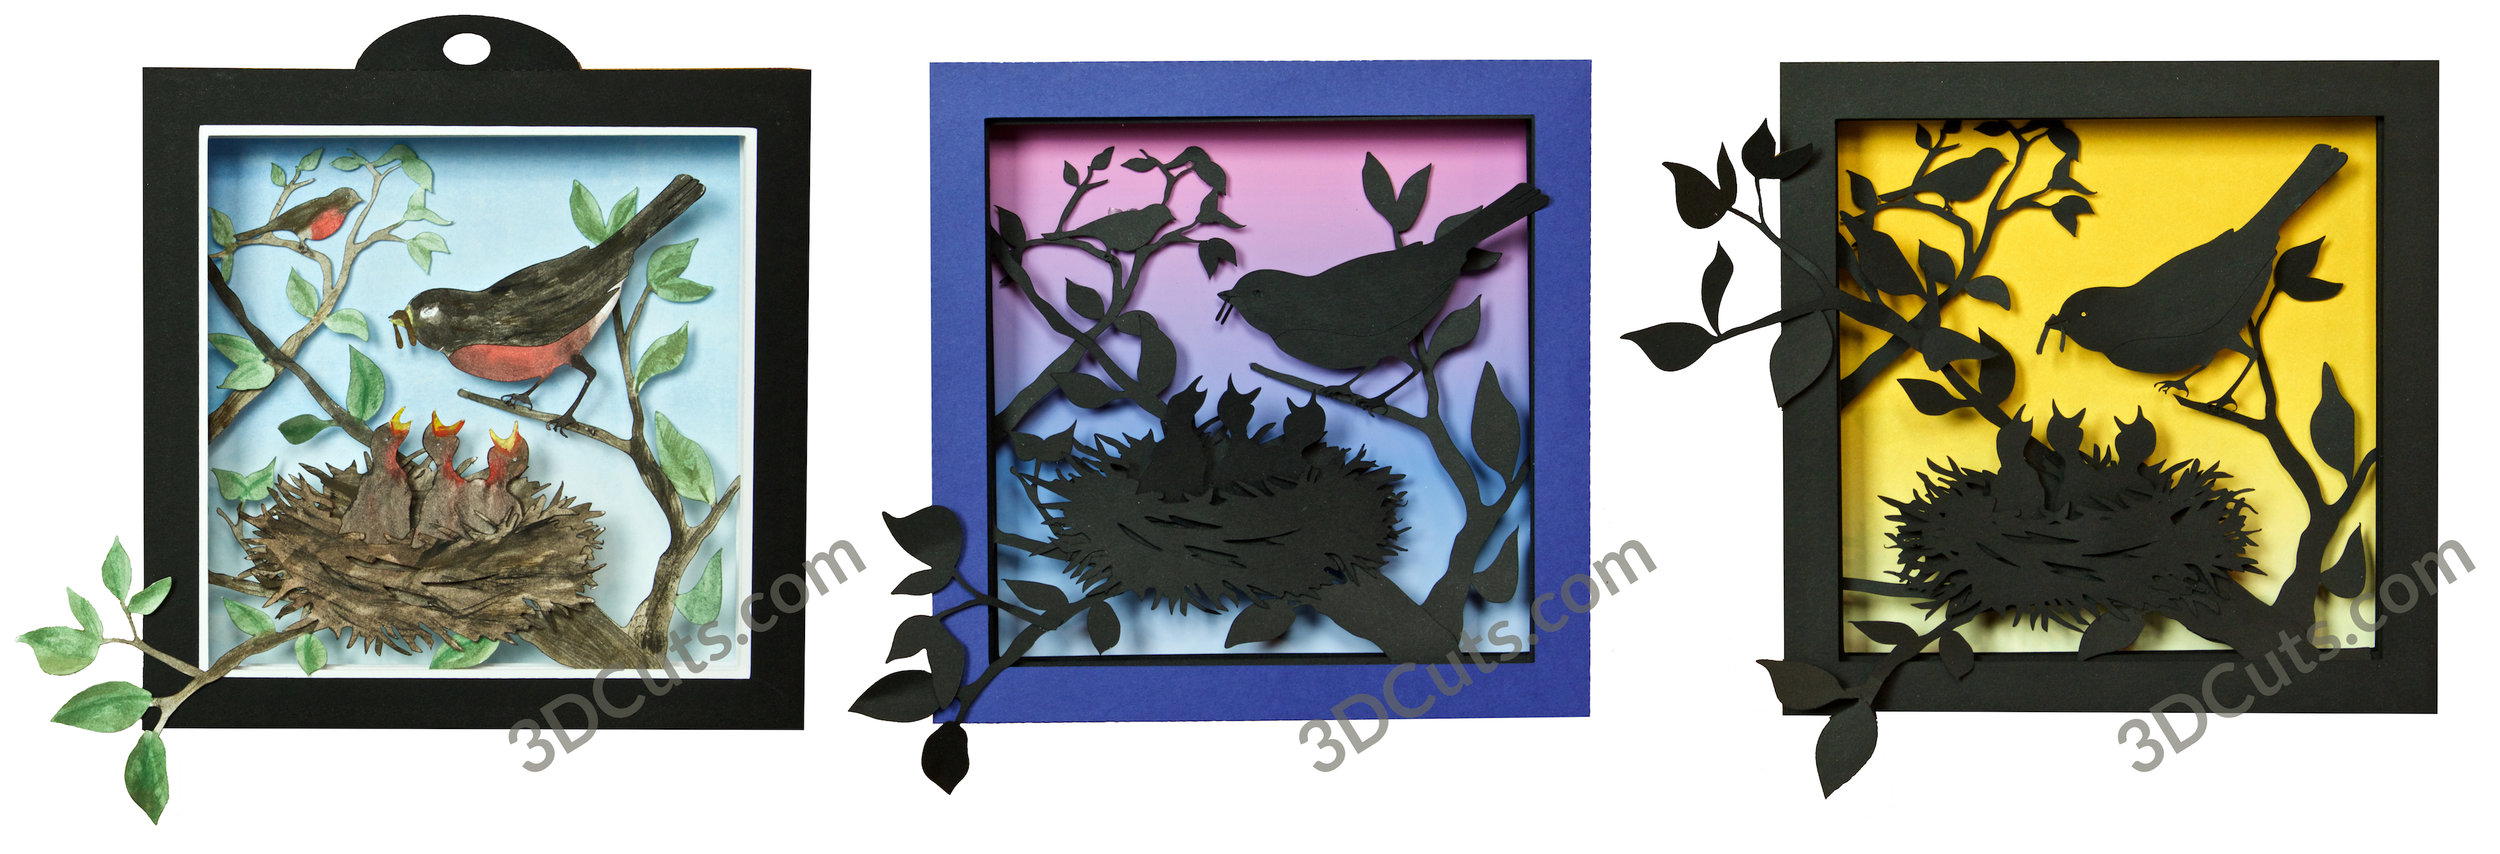
If you enjoyed making this shadow box visit my page of nature inspired shadow boxes for many additional files from all the seasons. http://3dcuts.com/shadow-boxes-nature-themes